THE RIDE
THE OFFSHORE LIFE IN ANY WATERS
YOUR BOAT’S SHINING MOMENT…IT ALL STARTS WITH WAX
When it comes to keeping your boat shipshape, our Regulator experts agree: waxing regularly is key. Because waxing takes a lot of elbow grease, there may come a time when you’ll be tempted to skip it, but don’t!

Here’s why: waxing actually makes it easier to keep your boat clean. A day out on the water fishing, tubing, or just cruising leads to build-up that clings to your hull – like salt, dirt, grime, oxidation, and more.
A coat of wax not only protects your boat from corrosion and helps preserve it for years to come, but it keeps your paint job, boot striping, hull decals, and graphics intact. Plus, waxing regularly slows down the UV damage that can break down paint and fiberglass. So, being diligent about waxing will help you avoid costly repairs associated with a boat that’s not properly protected.
THE WHOLE BALL OF WAX
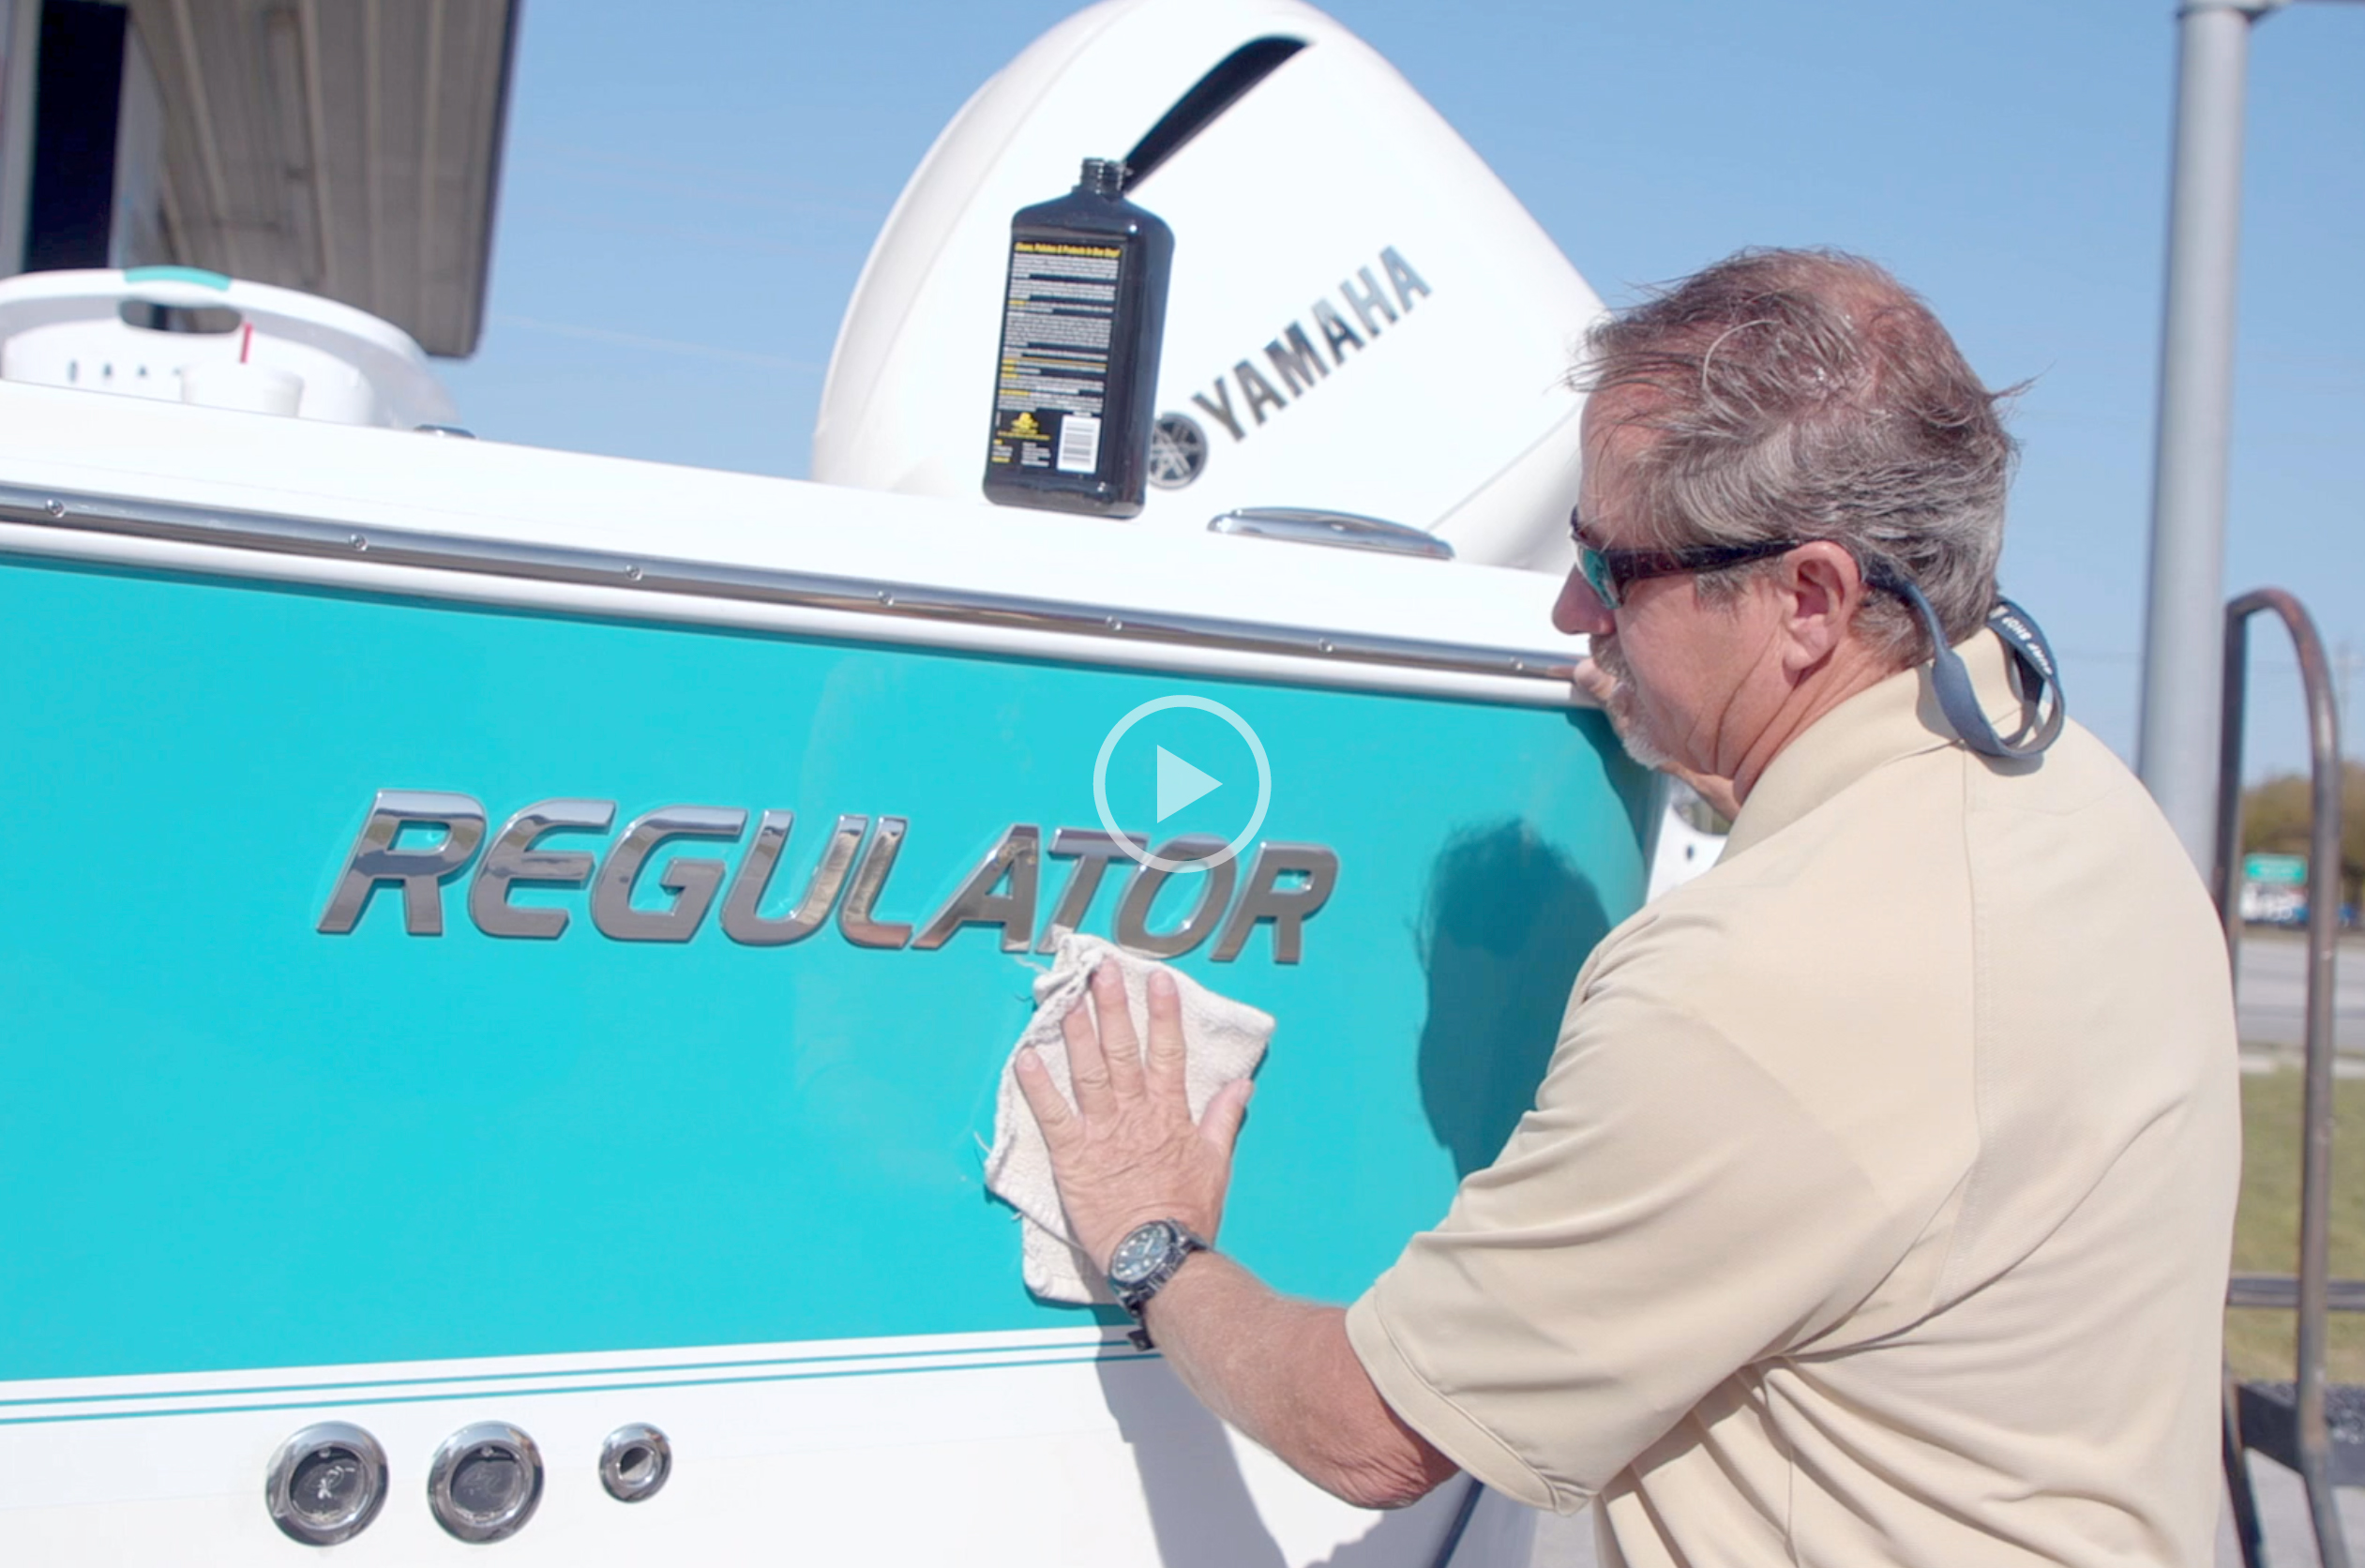
Watch the comprehensive tutorial video for detailed information and suggested tools from our friends at Starling Marine - or read below for our tips and tricks.
Here’s a quick how-to and a few product picks:
1. WASH & DRY
Before waxing, always wash and dry your boat. If you wax before washing, you run the chance of doing damage to your hull.
How to do it: Use a power washer or spray hose, sponge or wash mitt, and a bucket. After your boat is clean, make sure to go over every section with a towel or chamois cloth before applying the wax.
PRODUCT PICKS:
Natural Chamois Cleaning Cloth
2. WAX
Most waxes result in the same level of gloss and shine to protect your boat, with naturally-based wax lasting about six months. We suggest starting with all the fiberglass surfaces and then getting to the metalwork.
How to do it: Apply a dime-sized amount of wax on a buffer pad or microcloth. Working in 3x3 sections, apply the wax in a slow, circular motion, then allow to dry. Note: be careful not to use too much product. If the product is too thick on the pad, you’re not going to get good results. If you have decals or special lettering, you can avoid damage by working lightly over them.
PRODUCT PICKS:
-
3. BUFF
Next up is the buffing process. Buffing is the final step to filling in scratch marks and making your hull shine.
How to do it: Similar to waxing, work in 3x3 sections with an orbital buffing tool or soft cloth, using a circular motion to polish.
PRODUCT PICKS:
A few tips to keep in mind before getting started:
Use the right tools
A dual-action boat polisher (one that attaches to power drill with different pads for compound work and waxing) is best for DIY enthusiasts. Use an orbital buffer if you’re just applying a thin layer of wax. A word to the wise: a rotating buffer is best left in the hands of the pros!
It has to be boat wax
Car wax is not the same as boat wax – cars are painted, while boats are gelcoated. This is a big difference when it comes to wax! Also, don’t use wax on soft, clear plastics or clear enclosures.
Use the right products for your boat
Combination products, like a one-step, multipurpose cleaner/wax are best used on newer boats. Regardless of which product you choose, look for wax that is non-skid and good for slick surfaces.
We hope this helps you get your boat ready for its shining moment! If we can ever help answer any questions, contact us in the factory at 252.482.3837 and ask for Customer Service.
See you on the water!